January 2, 2023
I put down more carpet until I ran out of the grey carpet needed to fill in where I did not have enough brown. Progress a little slow due to visiting relatives over the holidays, but I did put ties on a few dozen switches.
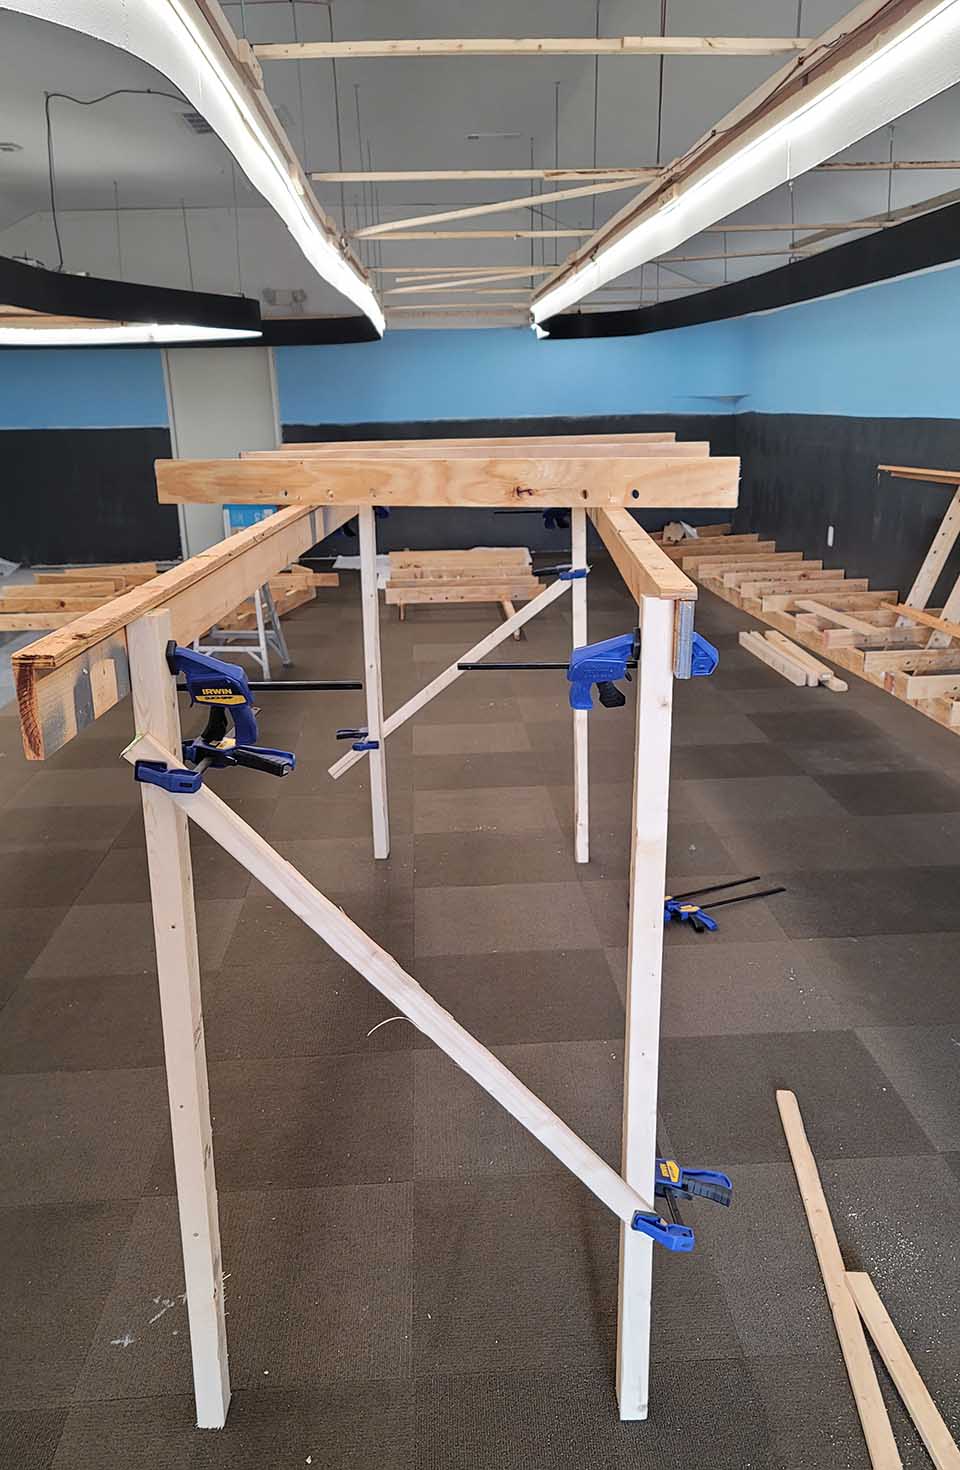
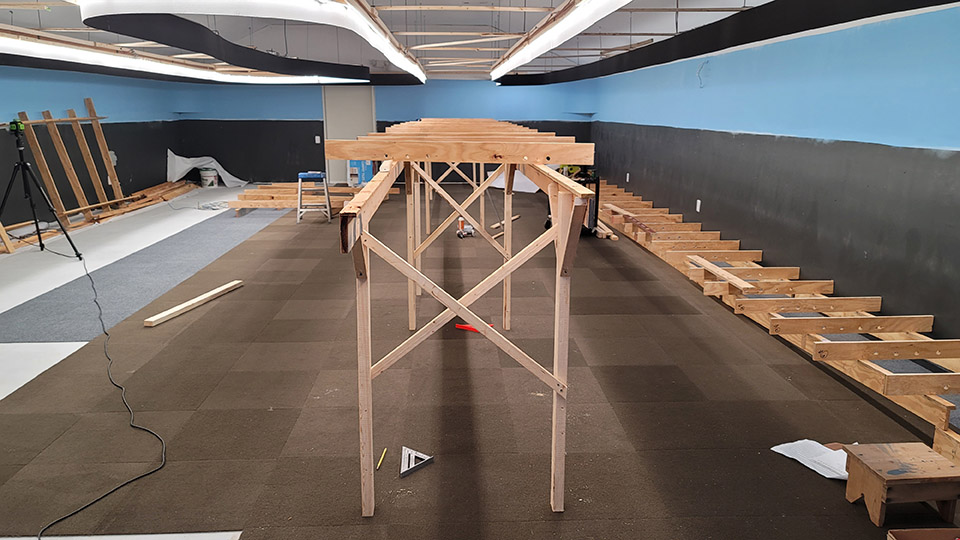
While waiting for more carpet, decided to put the legs on the Proberta/Anderson peninsula. Starting with the first section, I clamped legs to the L-girder while my wife held up the other end. 3/4″ clearance above the leg was left so there would be plenty of room for adjustments as the rest of the framework is installed.
First step was getting the legs vertical in relationship to each other. Then cross braces made of 1″x2″ from Lowes were attached. Next was adjusting the legs so they were level front to rear. Clamps still held them in place.
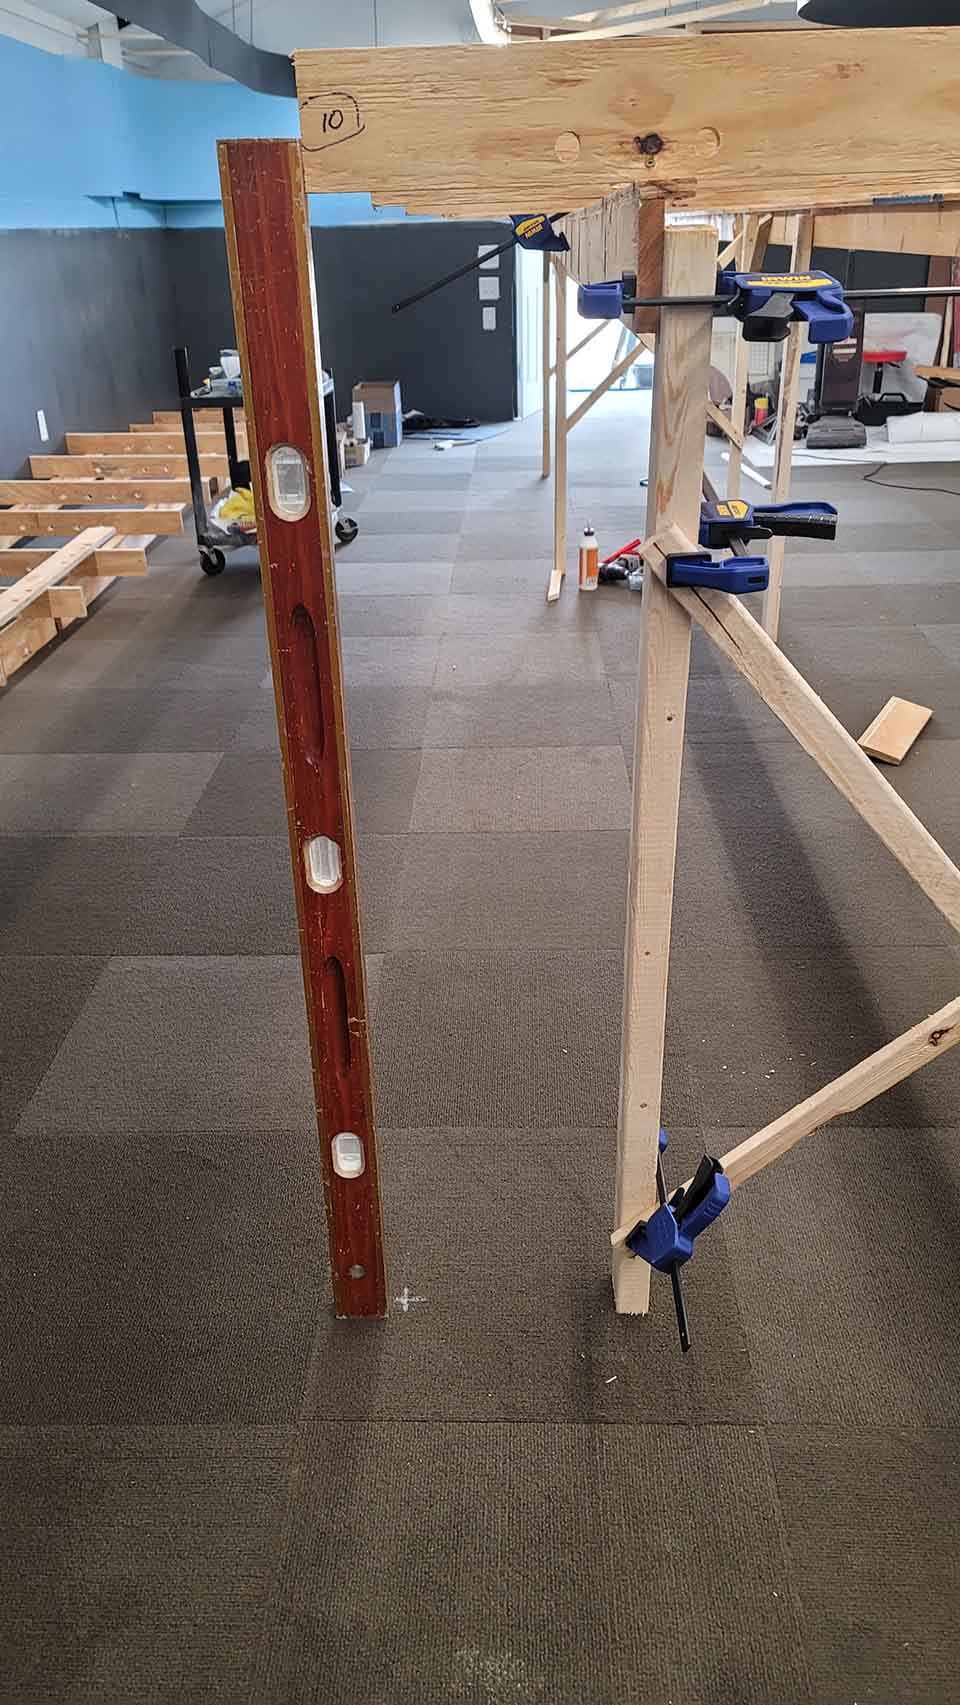
The top of the L-girder was made level for each leg using a laser line projected on a wood stick. For this first section, everything was checked again before screwing the legs on. From then on, only the far end of each new section needed to be checked.
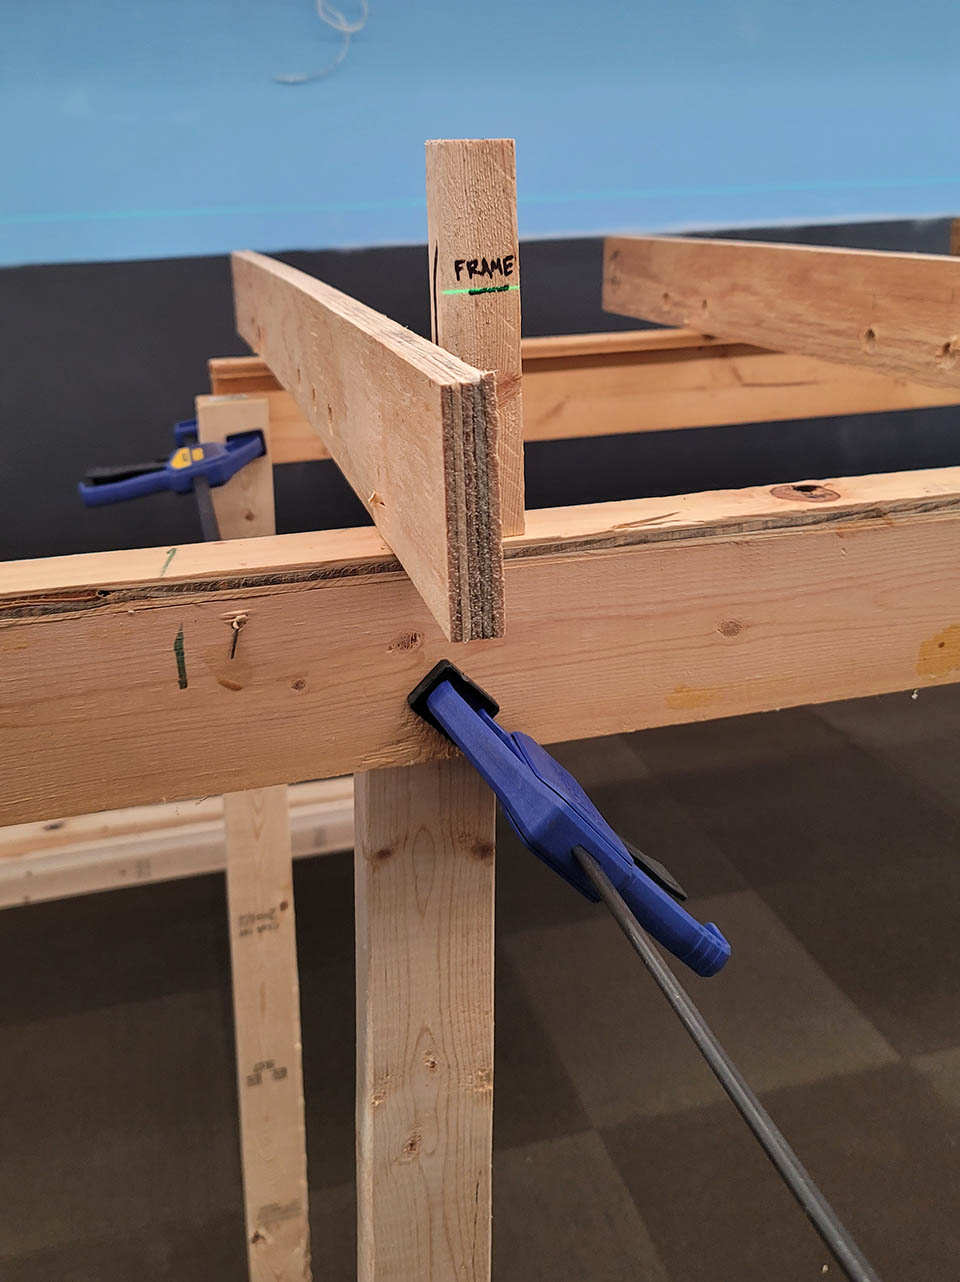
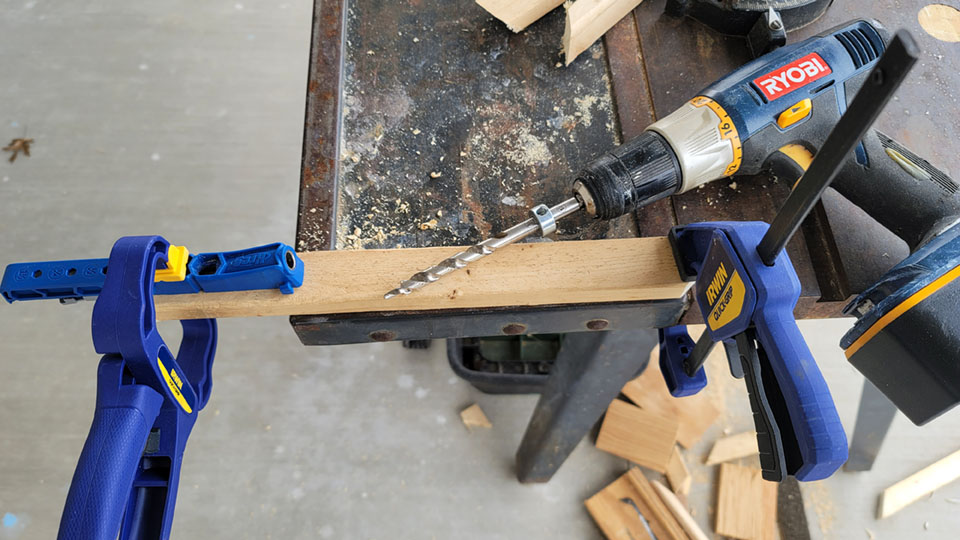
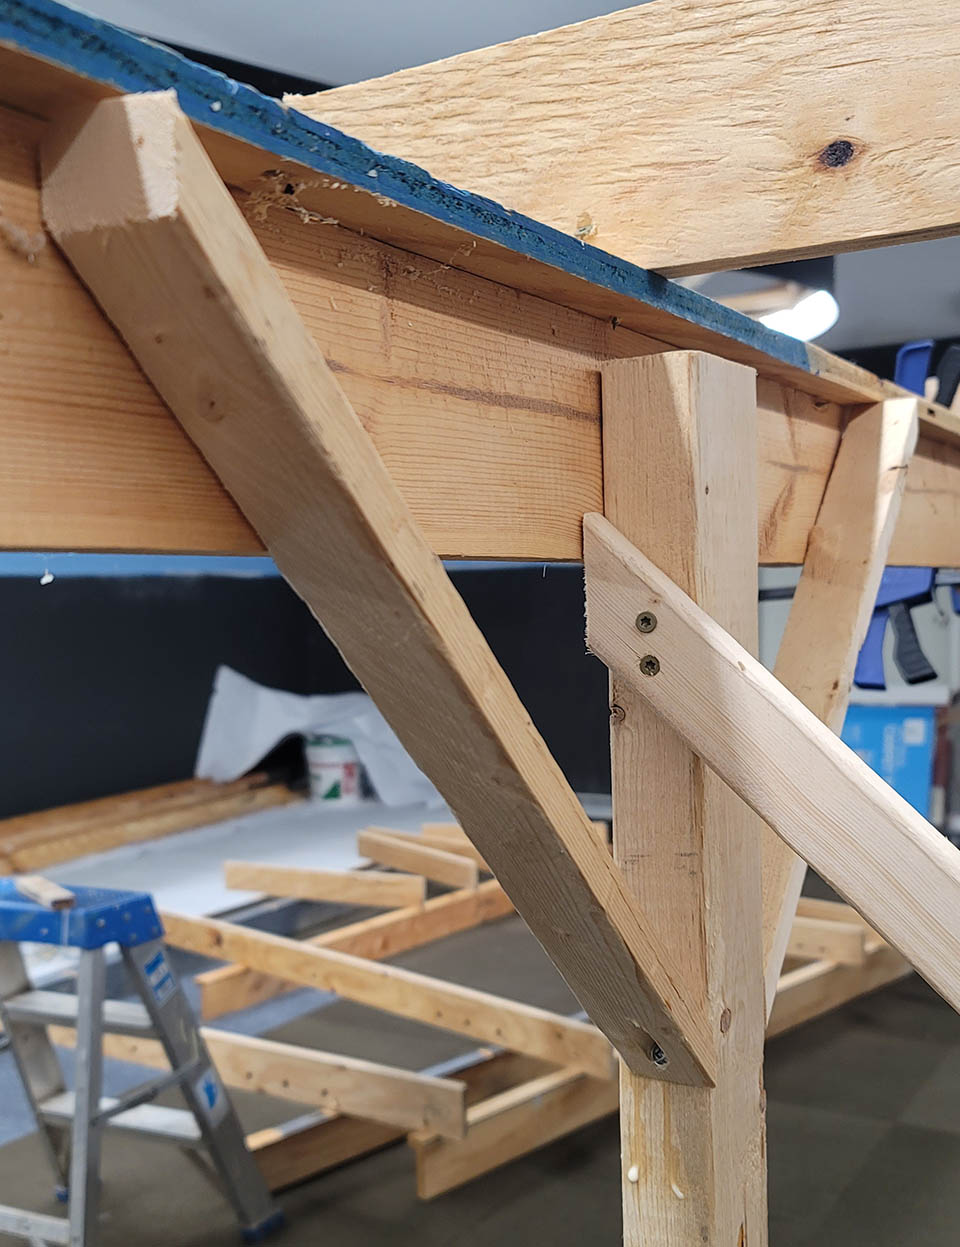
Final step was putting 45-degree diagonals on the legs. A pocket hole was made in the wide end. If you use this method, I highly suggest buying the Kreg Pocket Hole Jig – don’t be tempted by a cheaper version. It is so easy to use. It was also used in places to secure the valance supports. Two screws thru the L-girder held the upper end of the brace. The lower end was glued since it was held in place by only one screw.
Benchwork was aligned to dry erase marks on the carpet that were transferred from markings on the concrete as I laid each tile. A 6′ level was used to align them with the marks. This will ensure that the benchwork is in the same position as the full-size drawing that had been laid down on the floor.
Adding additional sections went quickly after the initial section’s construction and alignment.